Step-by-Step Guide to Installing WordPress on Ubuntu
Want to build a high-performance WordPress site with minimal lag? The solution is simple: install WordPress on Ubuntu.
According to W3Techs research, 61.6% of all websites using a content management system (CMS) run on WordPress, accounting for 43.5% of all websites globally. Given its popularity, WordPress demands a stable and secure hosting environment, making Ubuntu an ideal choice due to its robust architecture and reliability.
This guide provides a step-by-step approach to installing WordPress on Ubuntu, ensuring an optimized and secure website setup.
Table of Contents
- Pre-Installation Checklist
- Setting Up a LAMP Stack (Linux, Apache, MySQL/MariaDB, PHP)
- Explanation of PHP Modules
- Creating a MySQL/MariaDB Database and User for WordPress
- Downloading and Configuring WordPress
- Configuring Apache for WordPress
- Completing the WordPress Installation on Ubuntu via Web Browser
- Post-Installation Steps
- FAQs
Pre-Installation Checklist
Before installing WordPress, ensure you have the following:
- Ubuntu Server (Version 20.04 or newer preferred)
- SSH Access for secure remote server management
- Sudo Privileges to perform administrative tasks
- Basic Linux Command-Line Knowledge (e.g.,
cd,apt,nano) - Domain Name (Optional but recommended for easier access)
Setting Up a LAMP Stack (Linux, Apache, MySQL/MariaDB, PHP)
To install WordPress on Ubuntu, you need to set up the LAMP stack.
1. System Update
Ensure your package repository is updated:
sudo apt update && sudo apt upgrade -y
2. Install Apache
Apache is a widely used web server.
sudo apt install apache2 -y
Verify its installation:
sudo systemctl status apache2
Allow Apache through the firewall:
sudo ufw allow 'Apache'
3. Install MySQL/MariaDB
WordPress requires a database to store content.
sudo apt install mariadb-server -y
Secure the database:
sudo mysql_secure_installation
Check if MariaDB is running:
sudo systemctl status mariadb
4. Install PHP and Required Modules
PHP is essential for WordPress functional Verify PHP installation:
sudo apt install php libapache2-mod-php php-mysql php-cli php-curl php-gd
php-intl php-mbstring php-soap php-xml php-xmlrpc php-zip -y
Restart Apache:
sudo systemctl restart apache2
Creating a MySQL/MariaDB Database and User for WordPress
1. Log into MySQL/MariaDB
sudo mysql -u root -p
2. Create a Database
CREATE DATABASE wordpress_db;
3. Create a User and Grant Privileges
CREATE USER 'wp_user'@'localhost' IDENTIFIED BY 'your_password';
GRANT ALL ON wordpress_db.* TO 'wp_user'@'localhost';
FLUSH PRIVILEGES;
EXIT;
Downloading and Configuring WordPress
1. Change to the Web Root Directory
cd /var/www/html/
2. Download WordPress
sudo wget https://wordpress.org/latest.tar.gz
3. Extract WordPress
sudo tar -xzvf latest.tar.gz
4. Move Files to Web Root
sudo mv wordpress/* .
5. Clean Up Temporary Files
sudo rm -rf latest.tar.gz wordpress
6. Set Permissions
sudo chown -R www-data:www-data .
sudo find . -type d -exec chmod 755 {} \;
sudo find . -type f -exec chmod 644 {} \;
Configuring Apache for WordPress
Create a virtual host file for WordPress.
sudo nano /etc/apache2/sites-available/wordpress.conf
Add the following configuration:
<VirtualHost *:80>
ServerName your_domain.com
ServerAlias www.your_domain.com
DocumentRoot /var/www/html/
<Directory /var/www/html/>
AllowOverride All
</Directory>
ErrorLog ${APACHE_LOG_DIR}/error.log
CustomLog ${APACHE_LOG_DIR}/access.log combined
</VirtualHost>
Save and exit (Ctrl+X, then Y, then Enter).
Enable the virtual host and restart Apache:
sudo a2ensite wordpress.conf
sudo a2enmod rewrite
sudo systemctl restart apache2
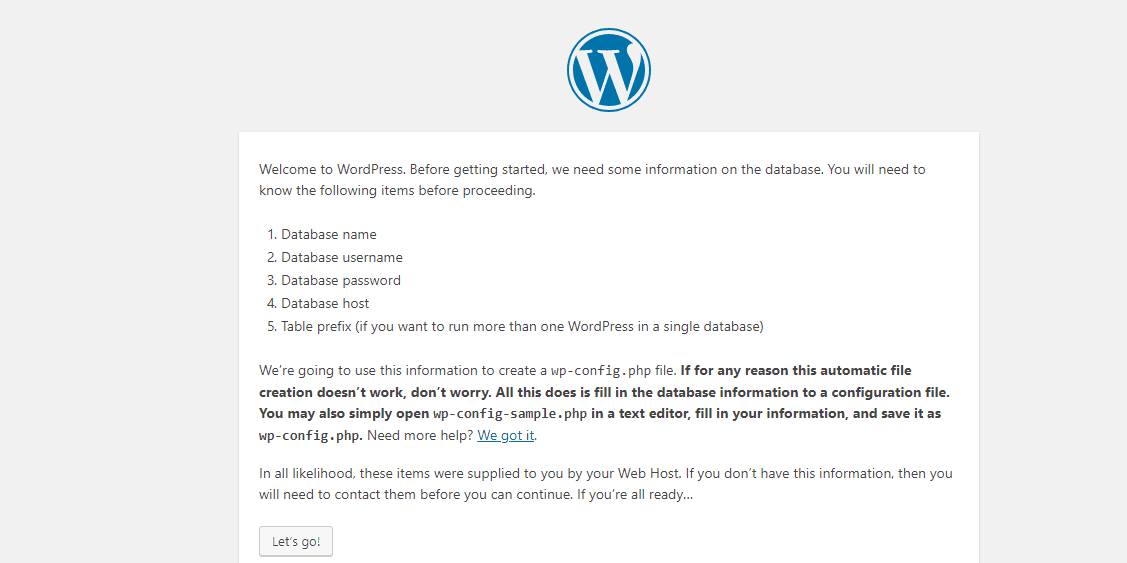
Completing the WordPress Installation via Web Browser
- Open your browser and visit
http://your_domain.comorhttp://your_server_IP - Select your language and click Continue
- Enter the database details:
- Database Name:
wordpress_db - Username:
wp_user - Password:
your_password - Database Host:
localhost 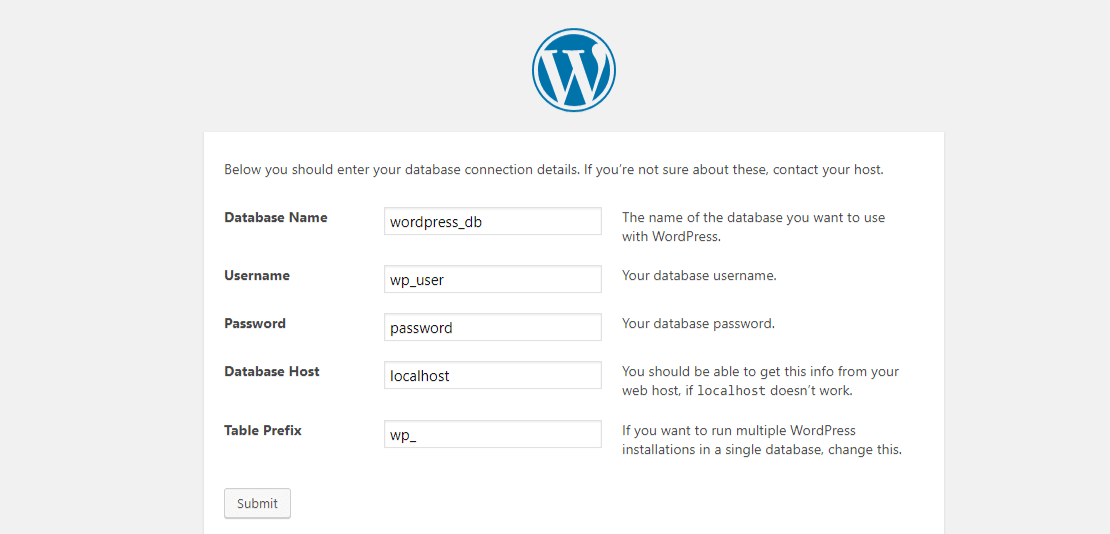
- Database Name:
- Click Submit, then Run the installation
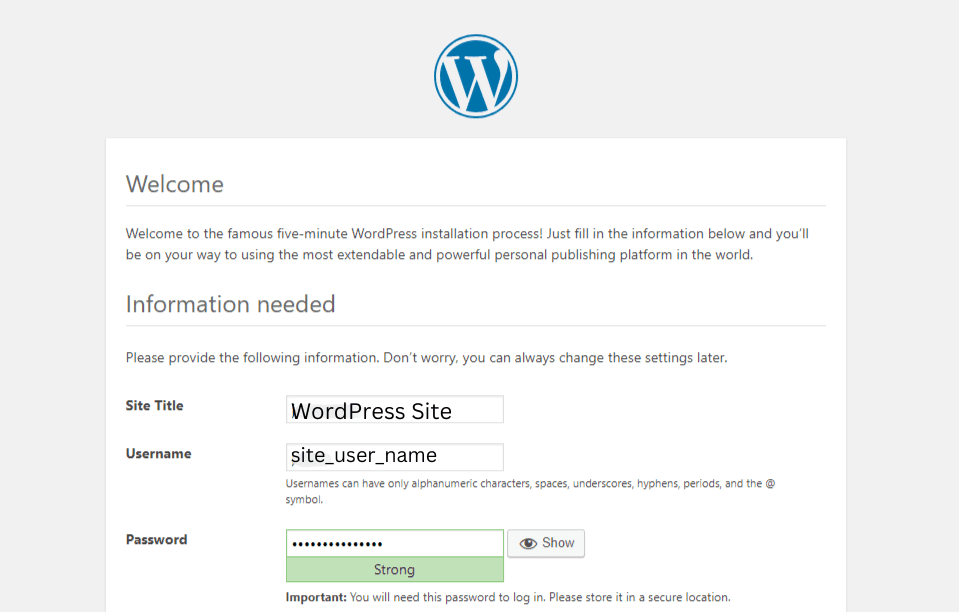
- Set up your WordPress site with a title, username, and password
- Log in to WordPress via
http://your_domain.com/wp-admin
Post-Installation Steps
- Secure WordPress: Install security plugins like Wordfence
- Enable SSL: Secure your site using Let's Encrypt SSL
- Regular Backups: Use plugins like UpdraftPlus
- Optimize Performance: Install caching plugins (e.g., WP Super Cache)
FAQs
1. Can I install WordPress on Ubuntu without a domain?
Yes, you can access it via your server’s IP address.
2. How do I update WordPress on Ubuntu?
Use the built-in WordPress dashboard update feature or update via CLI.
3. How can I improve WordPress security on Ubuntu?
Use firewalls, disable unnecessary services, and install security plugins.
Conclusion
By following this guide, you’ve successfully installed WordPress on Ubuntu. With proper security, optimization, and regular updates, you’ll ensure a high-performance, secure WordPress website.
Happy blogging!