How to Install WordPress on XAMPP for Local Development: A Beginner's Guide
Setting up WordPress on XAMPP provides a safe environment to develop, test, and customize your website without affecting a live server. Whether you're experimenting with themes, fine-tuning plugins, or developing a new project, a local WordPress setup simplifies the process. This guide will take you through the entire process of installing WordPress on XAMPP, troubleshooting common issues, and optimizing your local development environment.
Table of Contents
- The XAMPP and WordPress Connection
- Why Choose Localhost XAMPP Over WordPress Hosting?
- Step-by-Step Installation Process
- Step 1: Download and Install XAMPP
- Step 2: Launch XAMPP Modules and Test Your Local Server
- Step 3: Add WordPress Files
- Step 4: Create a Database for WordPress
- Step 5: Install WordPress Locally Using the On-Screen Installer
- Quick Fixes for Common XAMPP WordPress Issues
- Proven Tips for Maximizing Efficiency in Local WordPress Development
- FAQs
1. The XAMPP and WordPress Connection
XAMPP functions as a local server that mimics a web hosting environment. This allows you to install and run WordPress on your computer without requiring an internet connection.
Key Features of XAMPP:
- Compatible with Windows, Mac, and Linux.
- Includes Apache (server), MySQL/MariaDB (database), and PHP (scripting language).
- Provides a risk-free development environment.
Using XAMPP for WordPress development eliminates concerns about server resources, security threats, and website downtime.
2. Why Choose Localhost XAMPP Over WordPress Hosting?
Installing WordPress locally on XAMPP offers several benefits:
- No Hosting Costs: Avoid expenses during the development phase.
- Faster Development: Local setups operate faster than online servers.
- No Downtime Risks: Experiment freely without affecting a live website.
- Ideal for Testing: Try new themes, plugins, and updates safely.
- Better Performance: No internet dependency ensures seamless workflow.
3. Step-by-Step Installation Process
Step 1: Download and Install XAMPP
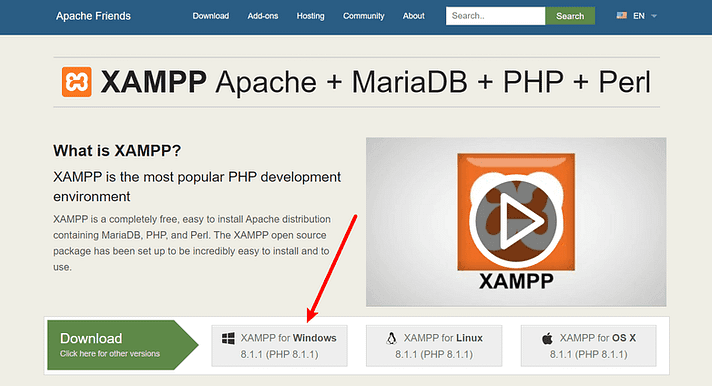
- Download XAMPP from Apache Friends.
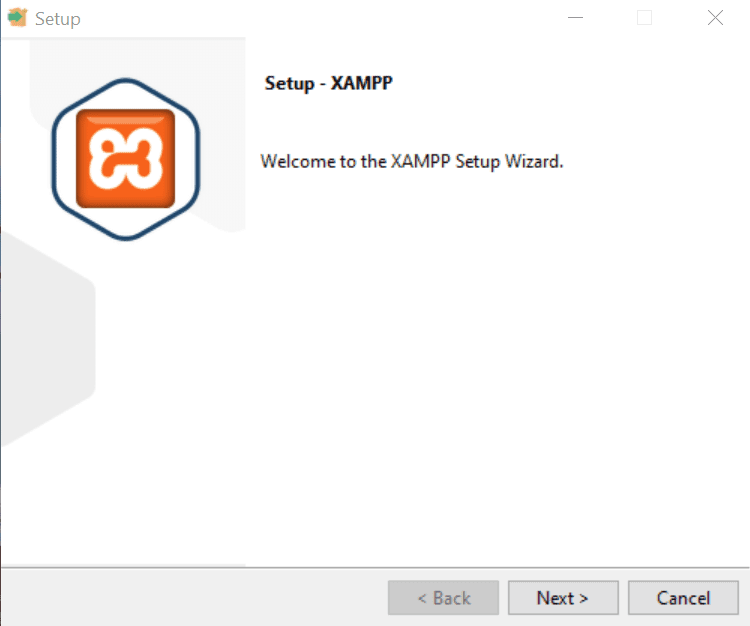
- Run the installer and proceed through security prompts.
- Select the necessary components: Apache, MySQL, and phpMyAdmin.
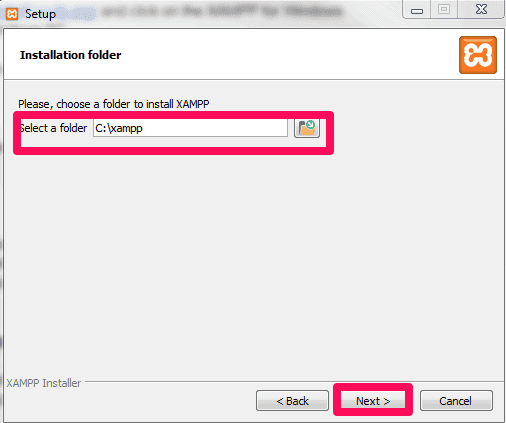
Choose the installation directory (default:
C:\xampp).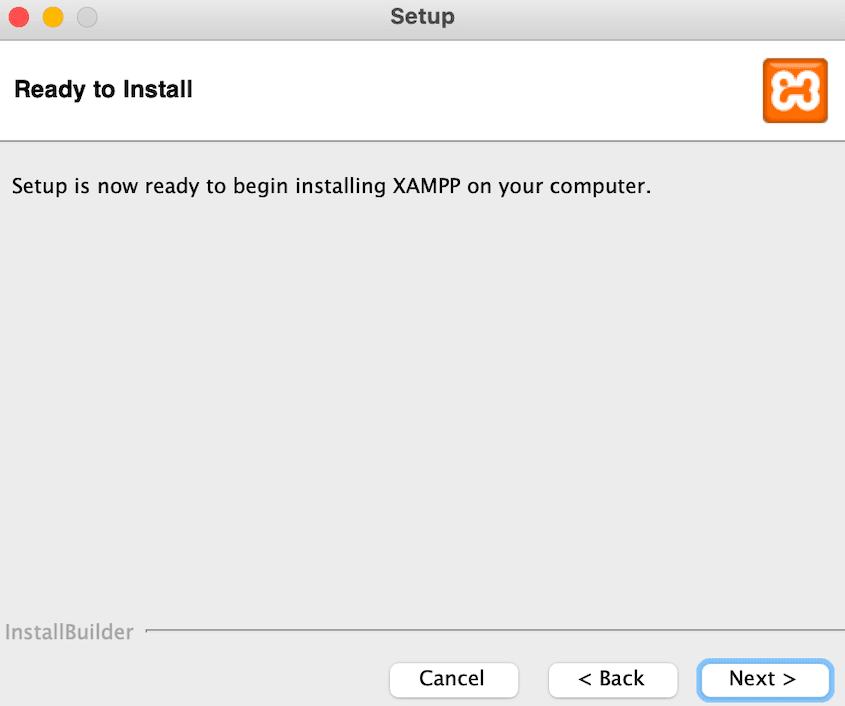

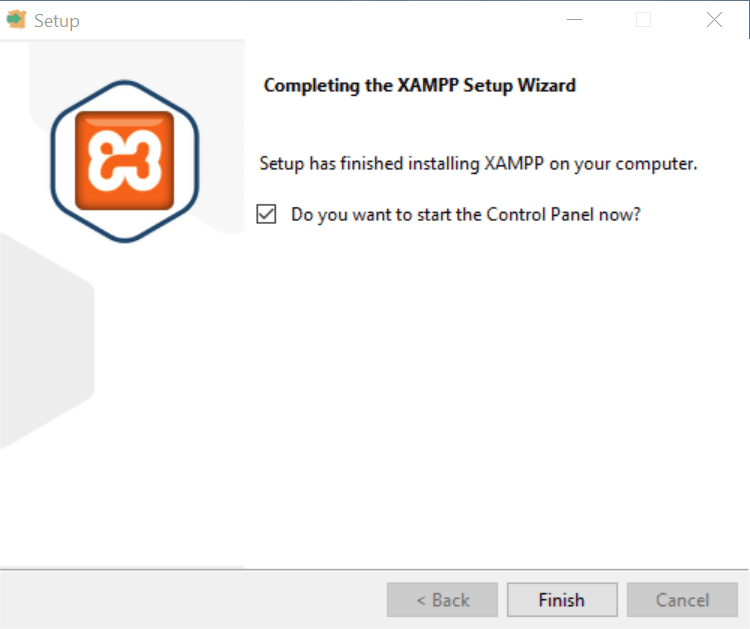
- Complete the installation and launch the XAMPP Control Panel.
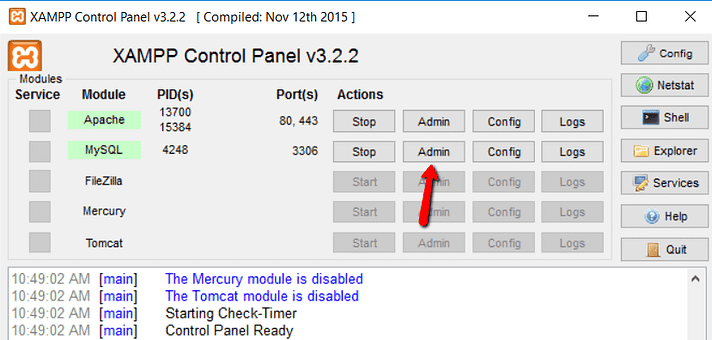
Step 2: Launch XAMPP Modules and Test Your Local Server
Open the XAMPP Control Panel.
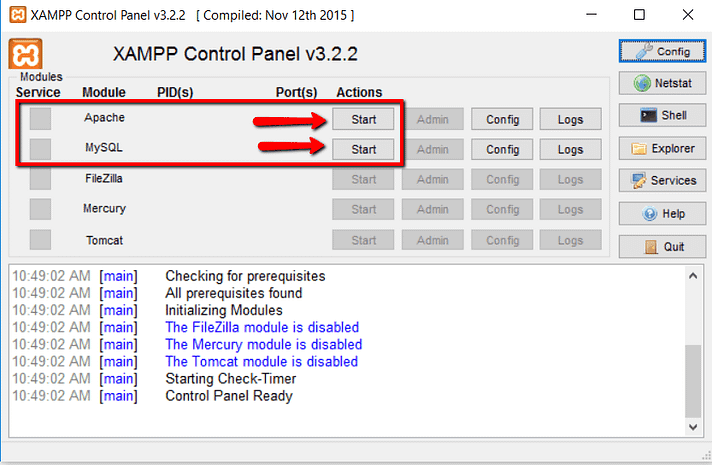

- Start Apache and MySQL modules.
Check if the modules turn green, indicating successful startup.
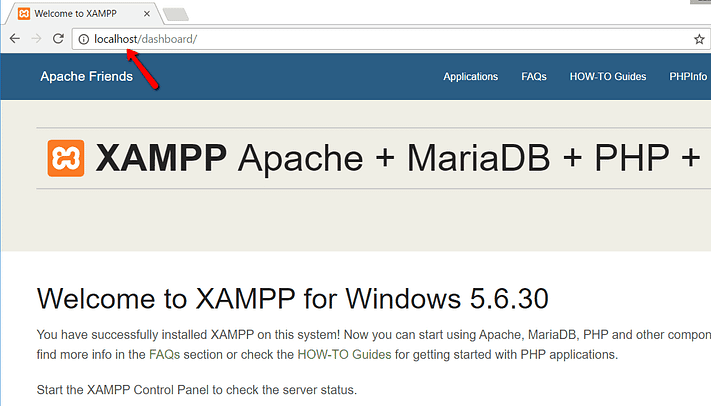
- Open a browser and visit
http://localhost/to verify the setup.
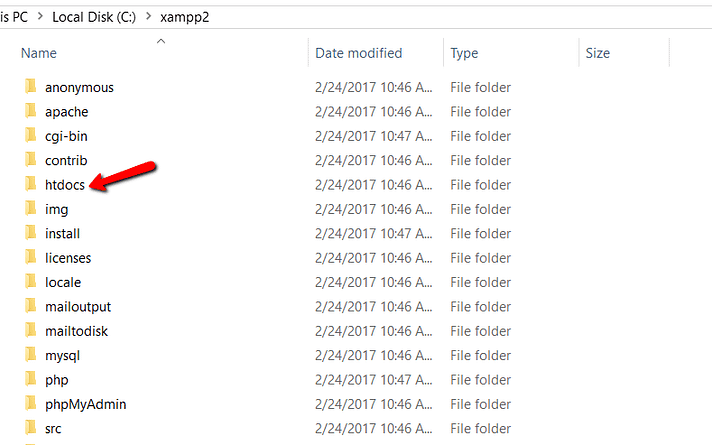
Step 3: Add WordPress Files
- Download WordPress from wordpress.org.
Extract the
.zipfile into theC:\xampp\htdocsdirectory.
Rename the extracted folder to your project name (e.g.,
testsite).- Your site will be accessible at
http://localhost/testsite/.
Step 4: Create a Database for WordPress
Open phpMyAdmin via the XAMPP Control Panel.
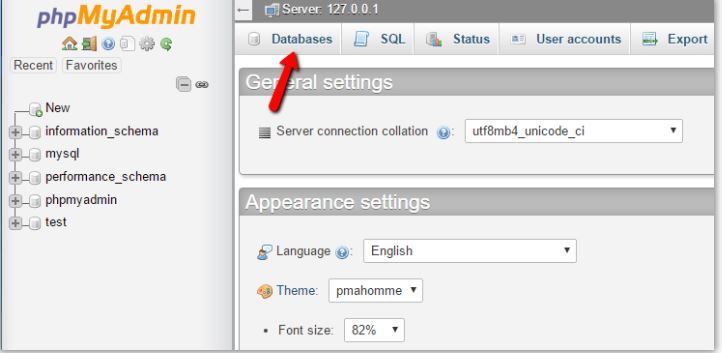
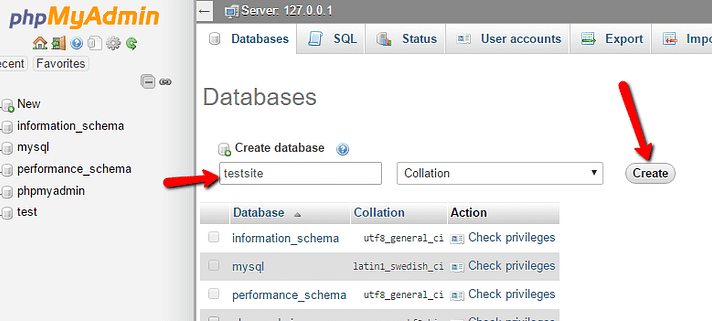
- Click Databases and enter a new database name (e.g.,
testsite). - Click Create—no need to set a database user.
Step 5: Install WordPress Locally Using the On-Screen Installer
Open a browser and visit
http://localhost/testsite/.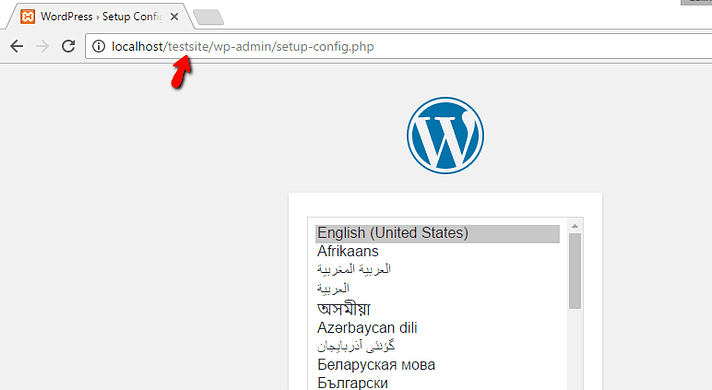
Select your preferred language and click Continue.
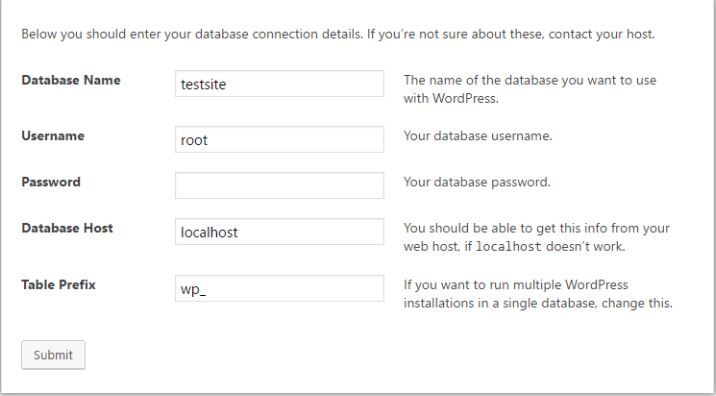
- Enter database details:
- Database Name:
testsite(or the name you created) - Username:
root Password: (Leave blank)
- Database Name:
- Follow the installation prompts, set up an admin account, and complete the installation.
- Log in via
http://localhost/testsite/wp-admin/.
4. Quick Fixes for Common XAMPP WordPress Issues
1. Apache/MySQL Not Starting
- Check Port Conflicts: Ensure ports 80 and 443 are not in use (Skype, IIS may interfere).
- Run as Administrator: Open XAMPP with admin rights.
- Disable Conflicting Services: Terminate conflicting services via Task Manager.
2. Database Connection Errors
- Verify Credentials: Ensure
wp-config.phpdatabase details match phpMyAdmin settings. - Manually Start MySQL: Restart MySQL via XAMPP.
- Repair Database: Use phpMyAdmin to repair tables.
3. Resolving "Localhost Refused to Connect" Issues
- Restart Apache and MySQL.
- Ensure
127.0.0.1 localhostis correctly set inC:\Windows\System32\drivers\etc\hosts.
5. Proven Tips for Maximizing Efficiency in Local WordPress Development
- Use a Custom Virtual Host
- Modify the Apache configuration to create unique local domains (e.g.,
testsite.local).
- Modify the Apache configuration to create unique local domains (e.g.,
- Enable Debugging Mode
- Add
define('WP_DEBUG', true);towp-config.phpfor troubleshooting errors.
- Add
- Set Up Automatic Backups
- Regularly back up the
htdocsfolder and database to prevent data loss.
- Regularly back up the
- Optimize Performance
- Disable unused XAMPP components to free up system resources.
- Use Version Control
- Integrate Git for version control to track changes efficiently.
6. FAQs
Q: Can I access my local WordPress site from another device? A: Yes, configure httpd-xampp.conf and use your computer’s local IP.
Q: Is it possible to migrate a local WordPress site to a live server? A: Yes, use tools like All-in-One WP Migration or WP Migrate DB.
Q: How do I update WordPress in XAMPP? A: Download the latest version, replace files in htdocs, and update the database via wp-admin/upgrade.php.